
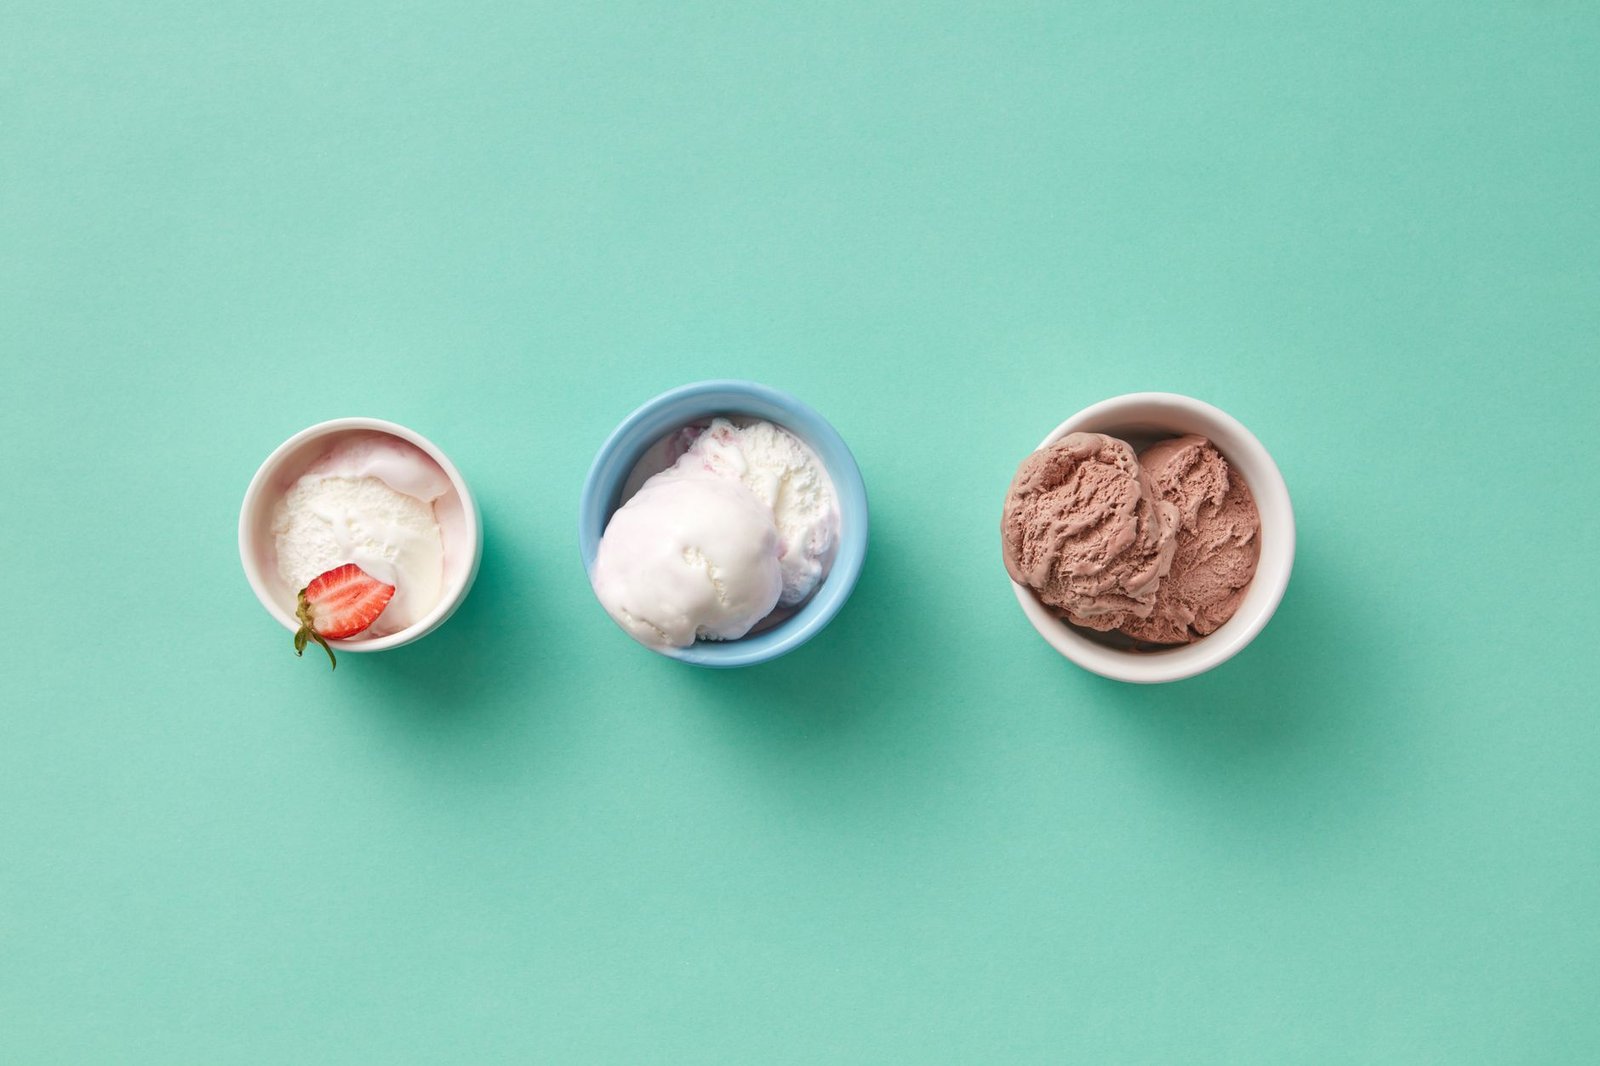
An ice cream maker freezes a sweet dairy base into smooth dessert by churning it constantly while pulling heat away. You get soft-serve texture in 20 to 40 minutes with a frozen-bowl model, or 30 to 60 minutes with a compressor unit that cools itself. The churn stops large ice crystals from forming, which is why homemade batches taste creamy instead of icy.
What Type Actually Fits Your Kitchen?
The right machine depends on how often you plan to use it and whether you have room in your freezer. A frozen-bowl model costs less upfront but needs at least 24 hours in the freezer before every single batch. That means you can’t make two flavors back-to-back unless you buy a second bowl.
A compressor unit plugs in and starts freezing immediately because it has its own cooling motor built inside the base. You trade counter space for convenience since these machines are heavy and stay out all year. If you only want a treat once a month, clearing freezer space for a bowl makes more sense than keeping a bulky appliance plugged in.
| Type | Prep needed | Batch time | Space required |
|---|---|---|---|
| Frozen bowl | 24 hours in the freezer | 20–40 minutes | Small, bowl-store flat |
| Compressor | None | 30–60 minutes | Large, stays on the counter |
| Hand-crank | Ice and rock salt | 20–30 minutes | Medium, used outdoors |
Is a Compressor Model Worth the Extra Cost?
Yes, if you make batches more than twice a month or want to serve guests without planning a day ahead. A compressor machine chills the mixture on its own, so you just pour the base in and turn it on. That convenience comes with a trade-off: the unit weighs roughly 25 pounds and takes up as much counter space as a bread machine.
If your kitchen is small, storing that weight between uses gets annoying fast. A frozen-bowl attachment for a stand mixer gives you similar results without dedicating permanent shelf space to another appliance. You give up instant readiness, but you keep your counters clear.
Tip: Chill your base in the fridge until it’s completely cold before pouring it into any machine — a warm base forces the motor to work harder and produces icier results.
Why Does My Batch Turn Out Icy Instead of Creamy?
Ice crystals form when the mixture freezes too slowly or contains too much water. Fat coats those crystals and keeps them tiny, so a base made with heavy cream stays smoother than one relying mostly on milk. Sugar plays the same role by lowering the freezing point, which is why cutting sugar from a recipe ruins the texture rather than just making it less sweet.
Over-churning is another culprit people miss. Once the mixture reaches the thickness of soft serve, usually after 20 to 40 minutes depending on your machine, the paddle starts whipping air pockets into a solid block. Stop the motor as soon as the dasher struggles to turn. Transfer the batch to a shallow container and press plastic wrap directly against the surface before putting it in the freezer.
If you’re using fruit purees, strain out the seeds and watery pulp first. Excess water separates during freezing and creates hard chunks that no amount of churning can fix.
How Long Can Homemade Batches Stay in the Freezer?
Because homemade versions lack commercial stabilizers, they freeze much harder than store-bought tubs. They stay safe to eat indefinitely if kept at 0°F, according to USDA freezer storage guidelines, but the quality drops noticeably after two weeks.
That two-week mark applies to dairy-heavy custard bases made with egg yolks and heavy cream. Sorbets built mostly from fruit puree and sugar hold their texture for closer to a month. The higher water content in fruit freezes into larger crystals, so sorbets often taste icier than dairy-based batches.
Let the container sit on the counter for five to ten minutes before scooping. Don’t microwave it to soften the edges, because it thaws unevenly and can melt parts of the batch completely. A warm scoop run under hot water works better than trying to force a cold spoon through a solid block.
Store your batch in the back of the freezer where the temperature doesn’t swing every time someone opens the door. Temperature fluctuations cause partial thawing and refreezing, which builds up crunchy ice layers on top of your dessert.
Press plastic wrap directly against the surface before snapping the lid shut. Any pocket of air left touching the dessert pulls moisture out overnight. That stolen moisture is exactly what forms those gritty frost patches by day three.
Related guides
Frequently Asked Questions
Can I use dairy-free milk in these machines?
Yes, though coconut cream or cashew milk works much better than almond or oat milk. You need a high fat content to mimic the creamy texture that dairy provides naturally. Add a tablespoon of neutral oil if your plant milk is very thin.
Do I really need rock salt for a hand-crank model?
Yes, plain ice alone won’t get cold enough to freeze the base. Salt lowers the melting point of ice, creating a brine that drops well below normal freezing temperatures. Without it, the mixture just sits in cold water and never thickens.
Will adding mix-ins like cookies damage the paddle?
It won’t break the motor, but large chunks can jam the dasher if added too early. Wait until the last two minutes of churning, then drop in small pieces no larger than a pea to avoid stalling the blade.
Conclusion
Once you’ve churned your first batch, try folding in toasted nuts or fresh fruit during the last minute of mixing. You’ll notice how much richer the flavor gets when everything is homemade. Don’t be afraid to experiment—you won’t regret it.
1 thought on “Ice Cream Maker: How It Works and Churning Times”